How To Write a Sent-Back Contact Email: Clear Templates, Subject Lines, and Effective Practices for 2026
A sent-back contact email lets a person return a message with clear next steps. The writer uses a sent-back contact email to confirm receipt, request missing details, or redirect the conversation. This guide shows when to send the message, what to include, and how to write subject lines and body text that get quick responses. It gives ready templates and practical tips for 2026.
Key Takeaways
- A sent-back contact email confirms receipt and clearly states missing information or errors to streamline communication.
- Include a clear subject line, brief acknowledgement, concise list of needed items, next steps, and deadlines in every sent-back contact email.
- Maintain a polite, direct tone using simple language and match formality to the recipient to encourage quick, positive responses.
- Use specific subject lines highlighting action needed, and clear opening lines acknowledging the original message to improve open rates.
- Structure the email in three short paragraphs: acknowledge receipt and issue, list required items, and provide next steps with deadlines and contact info.
- Provide detailed instructions about attachments, links, and follow-ups to avoid confusion and set clear response expectations.
When To Send A Sent-Back Contact Email And Its Purpose
A sender uses a sent-back contact email when the original contact lacks needed information, contains errors, or comes to the wrong person. The email serves three core purposes: acknowledge the original message, state what is missing or wrong, and give clear next steps. They also use the message to set expectations for response time. A sent-back contact email reduces back-and-forth by asking for precise items, such as files, dates, or permission. People prefer this approach because it saves time and keeps records of the exchange.
Essential Elements Every Sent-Back Contact Email Must Include
Each sent-back contact email should include a clear subject line, a brief acknowledgement, a concise list of what is missing, and explicit next steps. The sender should add a deadline or suggested timeline and a contact point for questions. They must keep the message short and use plain language. If the sender needs a file, they must state file type and size limits. If the sender redirects the request, they must name the correct recipient and explain why. These elements cut confusion and speed resolution.
Tone, Language, And Professional Etiquette For Sent-Back Messages
The tone of a sent-back contact email must stay polite and direct. The writer should use neutral verbs, simple nouns, and short sentences. They should avoid blame and offer help when possible. The writer should match formality to the recipient: use full names and titles for external contacts and first names for internal colleagues. They should proofread for grammar and clarity. If the message contains sensitive details, the writer should mark it confidential. A clear, calm tone increases the chance of a fast and positive reply.
Subject Lines And Opening Lines That Get Read
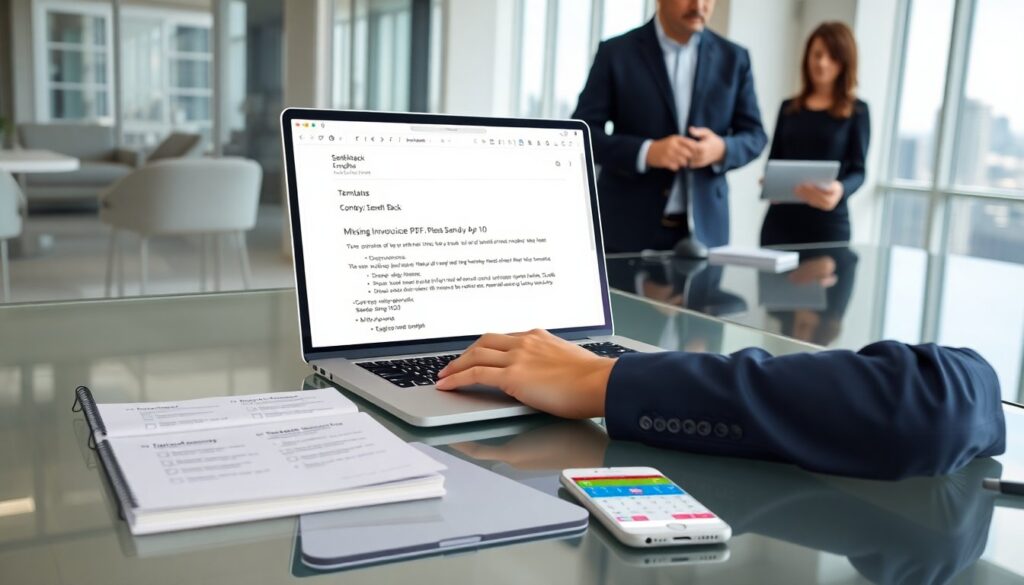
A subject line for a sent-back contact email must state the action and the item needed. Examples: “Sent-back: Missing Invoice PDF, Please Send by Apr 10” or “Sent-back: Clarify Project Dates.” The opening line should acknowledge the original contact and state the reason for sending back. Example opening: “Thanks for your message. The invoice file is missing the invoice number, so the team cannot process payment.” A clear subject line and opening line increase open rates and faster compliance.
Body Structure: A Step-By-Step Framework To Save Time
Use three short paragraphs for a sent-back contact email. First paragraph: acknowledge receipt and state the core issue in one sentence. Second paragraph: list the exact items needed or corrections, using bullets for clarity. Third paragraph: give a deadline, contact for questions, and next steps after receipt. Example: 1) Acknowledge: “We received your submission.” 2) Items: “Please send: invoice PDF (with number), signed contract, project start date.” 3) Next steps: “Please send by Friday. We will confirm receipt within 24 hours.” This structure speeds responses and reduces follow-up.
Attachments, Links, And Follow-Up Instructions To Avoid Confusion
When a sent-back contact email requests attachments, the sender should list file names, formats, and maximum size. The sender should offer a secure upload link when files exceed email limits. For links, they should add a brief description and check the link before sending. The sender should state how they will follow up and when. Example: “If we do not receive the files by Tuesday, we will send one reminder on Wednesday and close the request on Friday.” Clear follow-up rules prevent missed expectations.
Ready-To-Use Templates And Examples For Common Sent-Back Scenarios
Template 1, Missing file: “Sent-back: Missing [file name]. Thanks for your message. The team needs [file type] with [required field]. Please send the file by [date]. Reply to this email if you need a secure upload link.” Template 2, Wrong recipient: “Sent-back: Wrong recipient. Thanks for reaching out. This request should go to [name/department]. I have copied them here. Please address future invoices to [email].” Template 3, Clarify info: “Sent-back: Clarify dates. Thanks. The dates on the attachment differ. Please confirm the correct start and end dates and resend the attachment by [date].” These templates fit most common cases and save time.