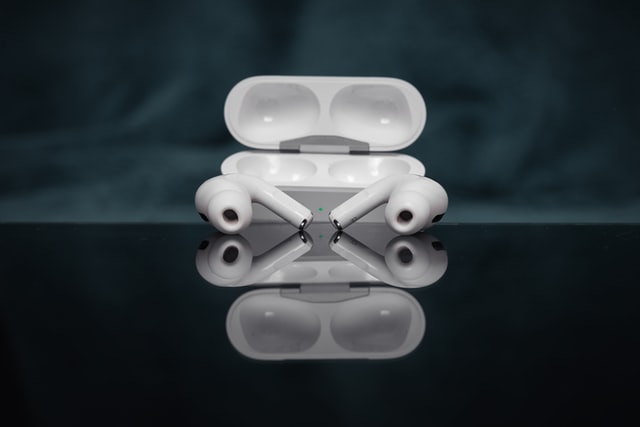
The moment has come. You heard about it, you saw pictures of other people’s designs, you secretly read instructables on your smartphone when nobody was watching but the day has finally arrived: Putting together your own airpod case just got EASY and you can win prizes!
I’m talking about easy to put together, not easy to do so don’t get any ideas.
I was looking for a design that could be as practical as possible without being too bulky as well as being able to hold the airpods snuggly in place so they don’t jiggle around when I’m not using them. That’s about it, no fancy bells and whistles, just a simple case to keep my beloved airpods safe and sound.
I searched the web high and low looking for suitable designs but they all seemed to be too bulky or didn’t hold them securely enough so I decided to take matters into my own hands and design a case myself.
How to make airpod case
Let’s get started!
Tools:
– cutting knife (box cutter, exacto knife, exacto blade)
– cutting mat
– ruler
– pen or pencil
– tweezers (optional)
Materials:
I used hard EVA foam from hobbyking.com , you can find it here . It’s about 1.5mm thick and it comes in all different sizes so there is a big chance that you will find something suitable for your needs.
The foam is quite sturdy and won’t bend easily so it holds its shape well with a little bit of patience and a sharp knife. It’s also pretty light which helps to reduce bulkiness as well as being easy on the pocket.
First things first, cut out two pieces with dimensions 10mm * 25mm. These will serve as the ‘inner’ parts of your airpod case so it’s important that they have a nice snug fit for your airpods to rest on.
Next, cut out two pieces with dimensions 22mm * 50mm which will serve as the ‘outer’ parts of your airpod case. To make things easier I measured my airpods and marked where the top of them lie so they would fit in just right.
Now it’s time to assemble everything, this is done by placing the ‘inner’ pieces inside the ‘outer’ ones with a slight offset (I placed one piece on top while cutting another one which left me with this perfect asymmetrical shape).
Since the foam is very sturdy it’s important not to push your airpods in too hard or they will end up with small dents. I used tweezers for this part, if you don’t have any or simply can’t be bothered then get yourself a stick of some sort and place the ipod/airpods in the groove and carefully push them inside. To put on the final touches and prevent my airpods from sliding out I glued a few pieces of soft foam to the back side of each piece so they would stick together when everything is done.
I also added some bits here and there just for looks, nothing fancy though but it looks pretty cool if you ask me. For the bottom I chose to glue some neoprene foam so my airpods won’t scratch on the table when placed face down and also give it a bit of grip so it doesn’t slide around when I’m holding it in my hand.
At last, time to draw your design!…
…And cut it out of course!
I chose a simple cross for this design, I wanted a shape that could be easily recognized and would also serve as a piece of memory which reminded me of the moment when everything came together.
Conclusion
It took me a couple of hours to put everything together but I think it was worth the effort. The case is very sturdy, practical and lightweight. It also looks really cool in my opinion so what are you waiting for? Get cutting!


